

Find and Select a Customer #
Common POS · Shared procedures for retail, restaurant, and salon devices. Button availability follows your device configuration and permissions. Red numbered boxes identify the controls used in each step.
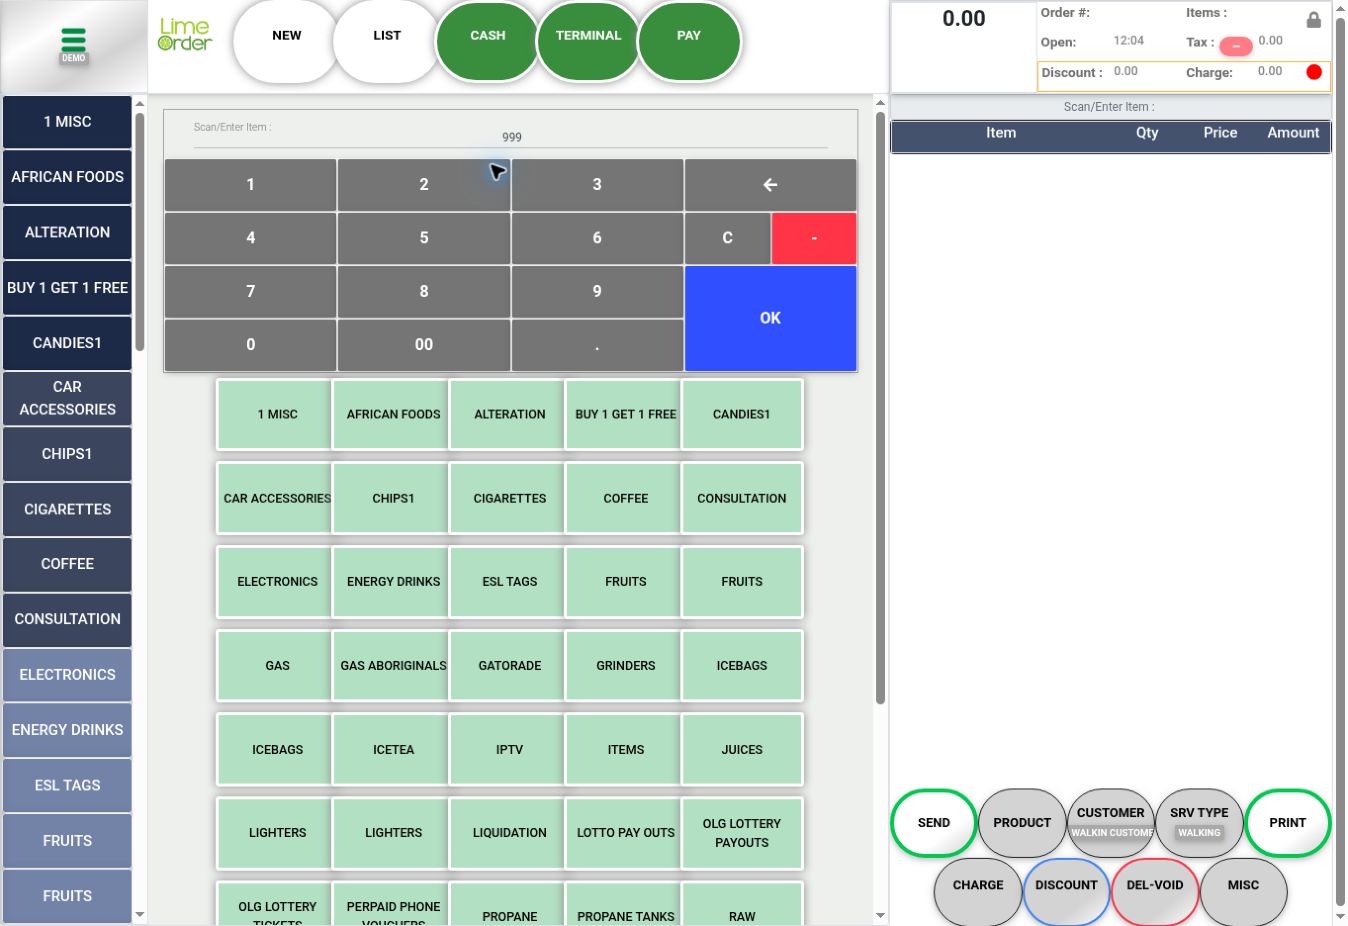
1. Press CUSTOMER on Sales #
Press CUSTOMER below the basket. Its second line displays the current customer; this example uses Walkin Customer.
 1
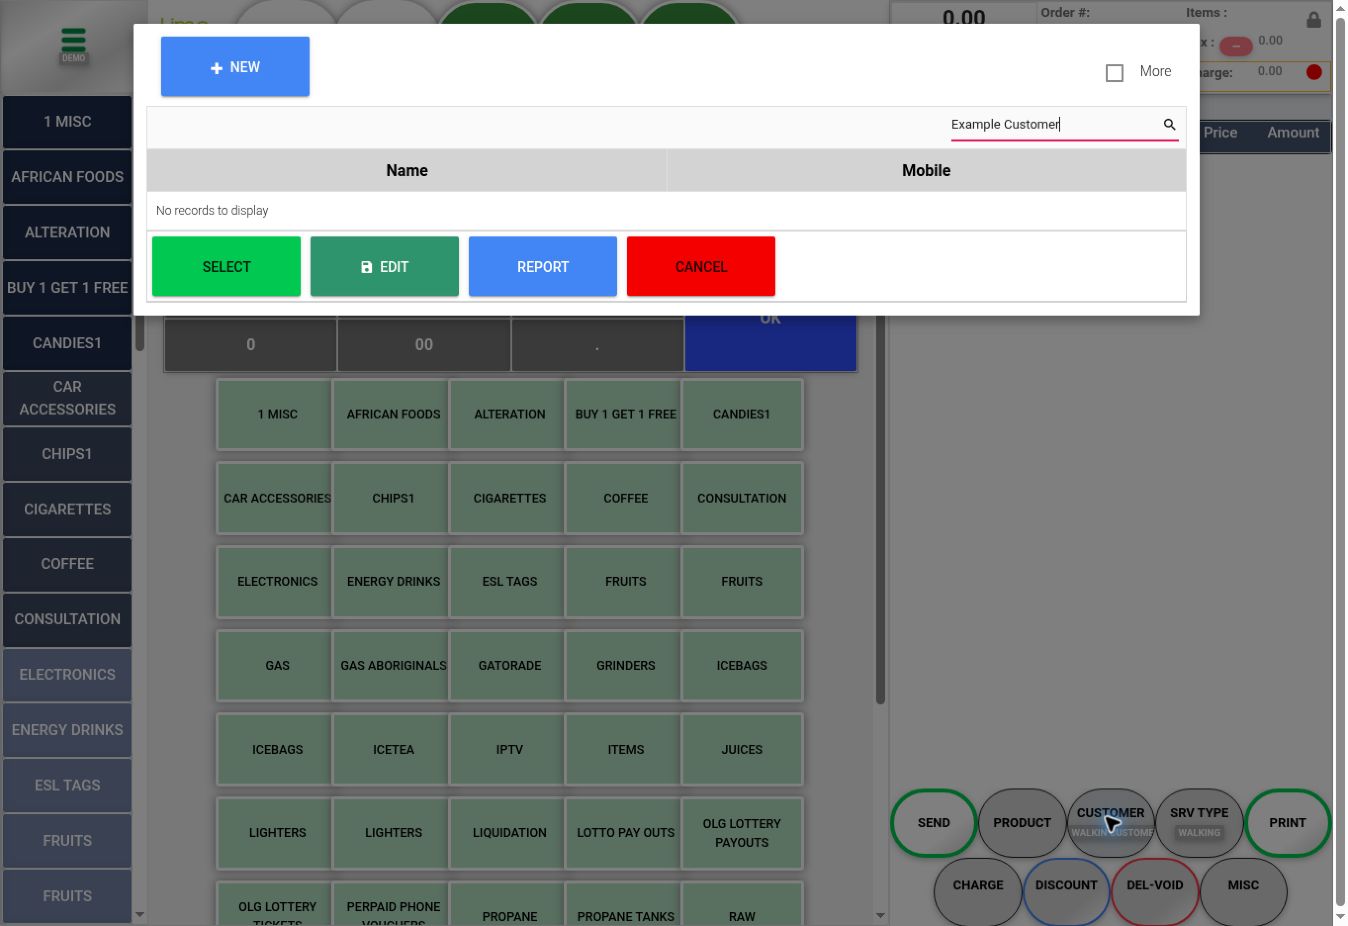
12. Search the customer list #
The customer lookup opens. Type the customer’s name or phone/mobile number into the search box and run the search. Read the Name and Mobile columns before selecting. Clear the search to return to the full list. The screenshot uses an example search with no matches so real contact details are not published.
 23
233. Select a matching row and press SELECT #
Choose the intended matching row, then press SELECT at the lower left. CANCEL closes the lookup. EDIT opens the selected customer’s details, REPORT provides a customer report, and More is the lookup’s additional-details control.
345674. Use NEW when a customer needs to be added #
Press NEW at the upper left of the lookup. Continue with Add a New Customer to see the full dialog and its fields.
4Check the result #
Confirm the customer name shown on Sales before proceeding with the invoice.