

Table of Contents
Customer receipt text #
POS Admin • Screenshots show example records. Select any screenshot to enlarge it.
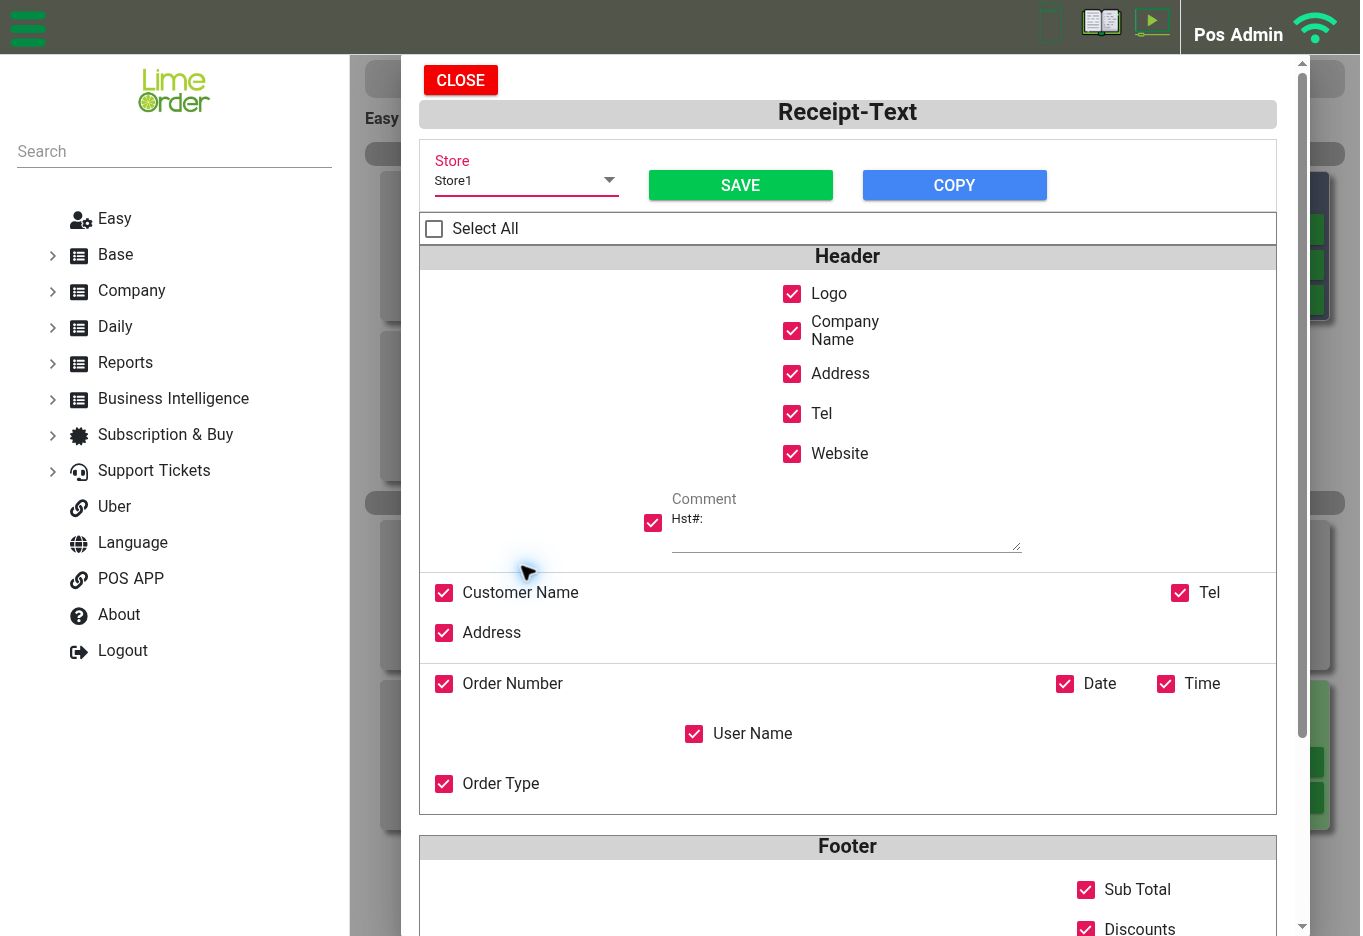
Receipt-Text: select the store first, then review the Header options. Scroll down for Footer options. View full-size screenshot
Open: Easy → Customer Receipt → Receipt-Text
- Select the Store. The receipt controls appear after selecting a store.
- Review the Header fields you want to include.
- Review the Footer fields and comments.
- Select Save.
- Check a sample printed receipt on the store’s POS.
Header options include Logo, Company Name, Address, Tel, Website, a comment, customer name/contact details, order number, date, time, user name, and order type.
Footer options include Sub Total, Discounts, Surcharges, Tax, Total, and a comment. The screen also includes Select All and Copy. Review the target store carefully when copying a receipt configuration.
Receipt-Image is available as a separate shortcut beside Receipt-Text on the Easy page.