

Open the Invoice List and Change Filters #
Common POS · Shared procedures for retail, restaurant, and salon devices. Button availability follows your device configuration and permissions. Red numbered boxes identify the controls used in each step.
1. Press LIST on Sales #
Press LIST at the top of Sales. The center changes from item entry to invoice results, and the same top button becomes ITEMS for returning to item entry.
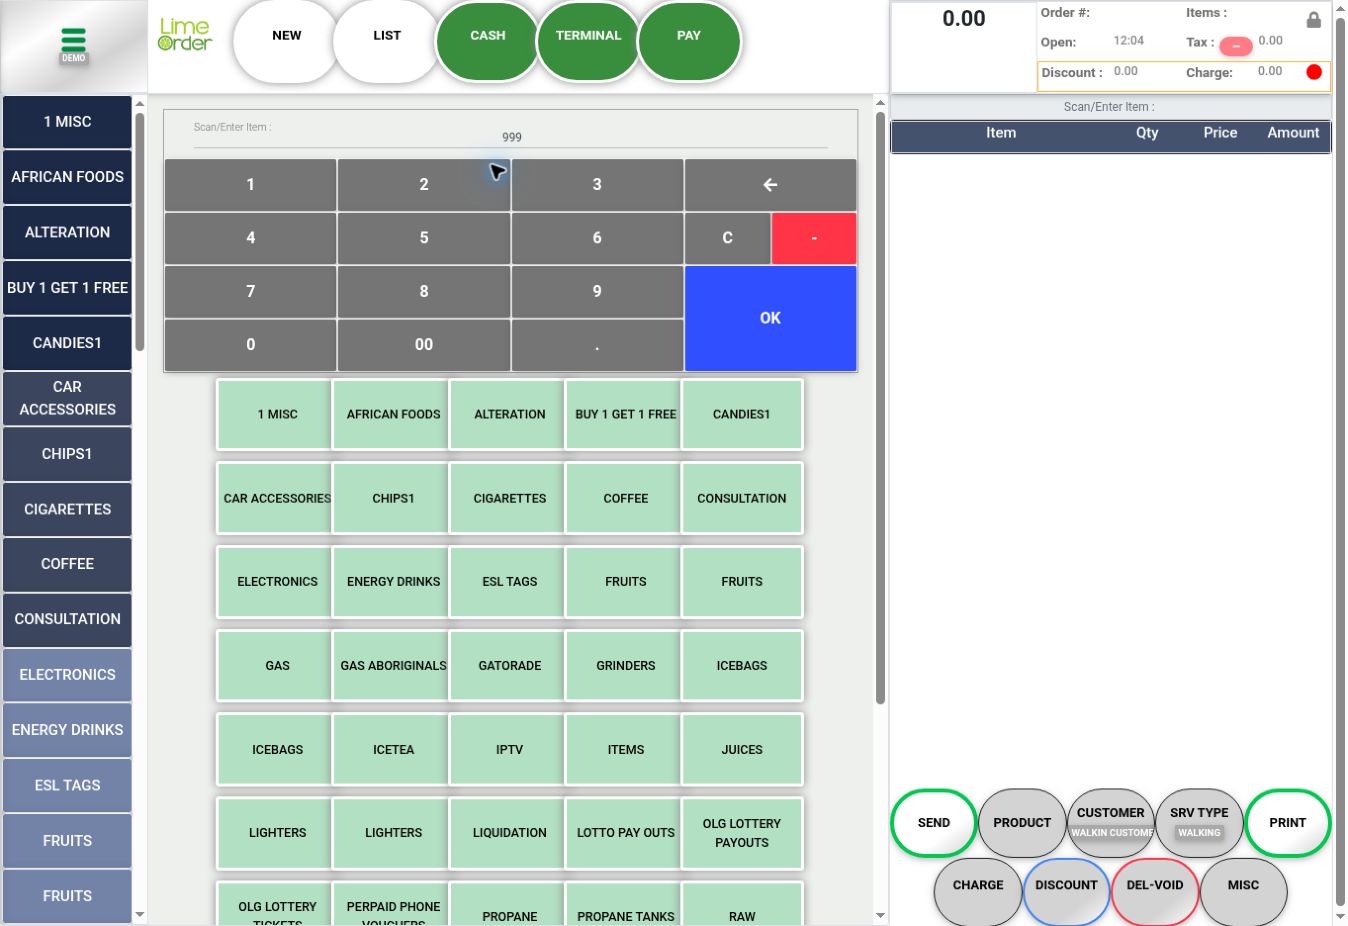 1
12. Choose user and device scope #
Choose MY ORDERS or ALL ORDERS, then CURRENT DEVICE or ALL DEVICES. Widen these filters if you cannot find the intended invoice.
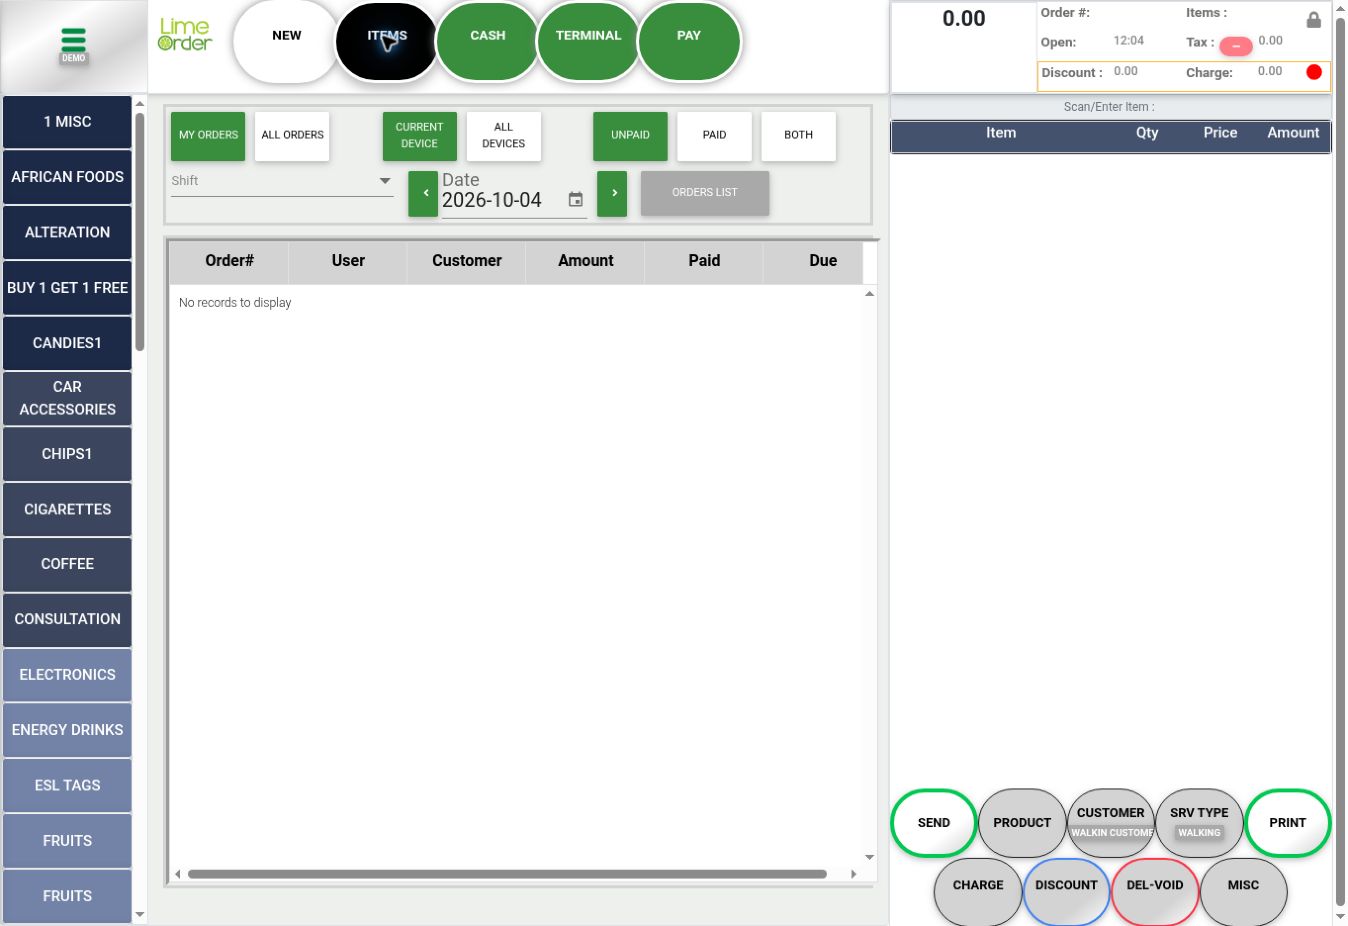 23
233. Choose payment status #
Choose UNPAID, PAID, or BOTH. Use BOTH when an invoice’s payment status is uncertain.
34. Choose shift and date #
Open Shift and select All Shifts or a configured shift. Choose Date or use the previous / next day arrows. Results show Order#, User, Customer, Amount, Paid, and Due; wider device scope can add Device and Shift.
4565. Open the intended invoice and return to ITEMS #
Select the required invoice row and verify its reference and customer. Press ITEMS at the top to return to the basket.
5Check the result #
Verify the invoice before editing or taking payment. ORDERS LIST is an additional control in this view; its enabled state depends on context.